How to Hang Laser Cut Signs on a Flat Wall

A while ago we posted about how to hang laser cut signs on a foliage wall (if you haven’t read that post yet, you can find it here!), but today we’re talking about how to hang laser cut signs on a flat wall.
Materials needed to hang laser cut signs on a flat wall:
You’ll only need 4 things to hang your sign on a flat wall (not including the sign, of course!).
T-shaped ruler
Painter’s tape
Command strips
Scissors
How to hang the sign:
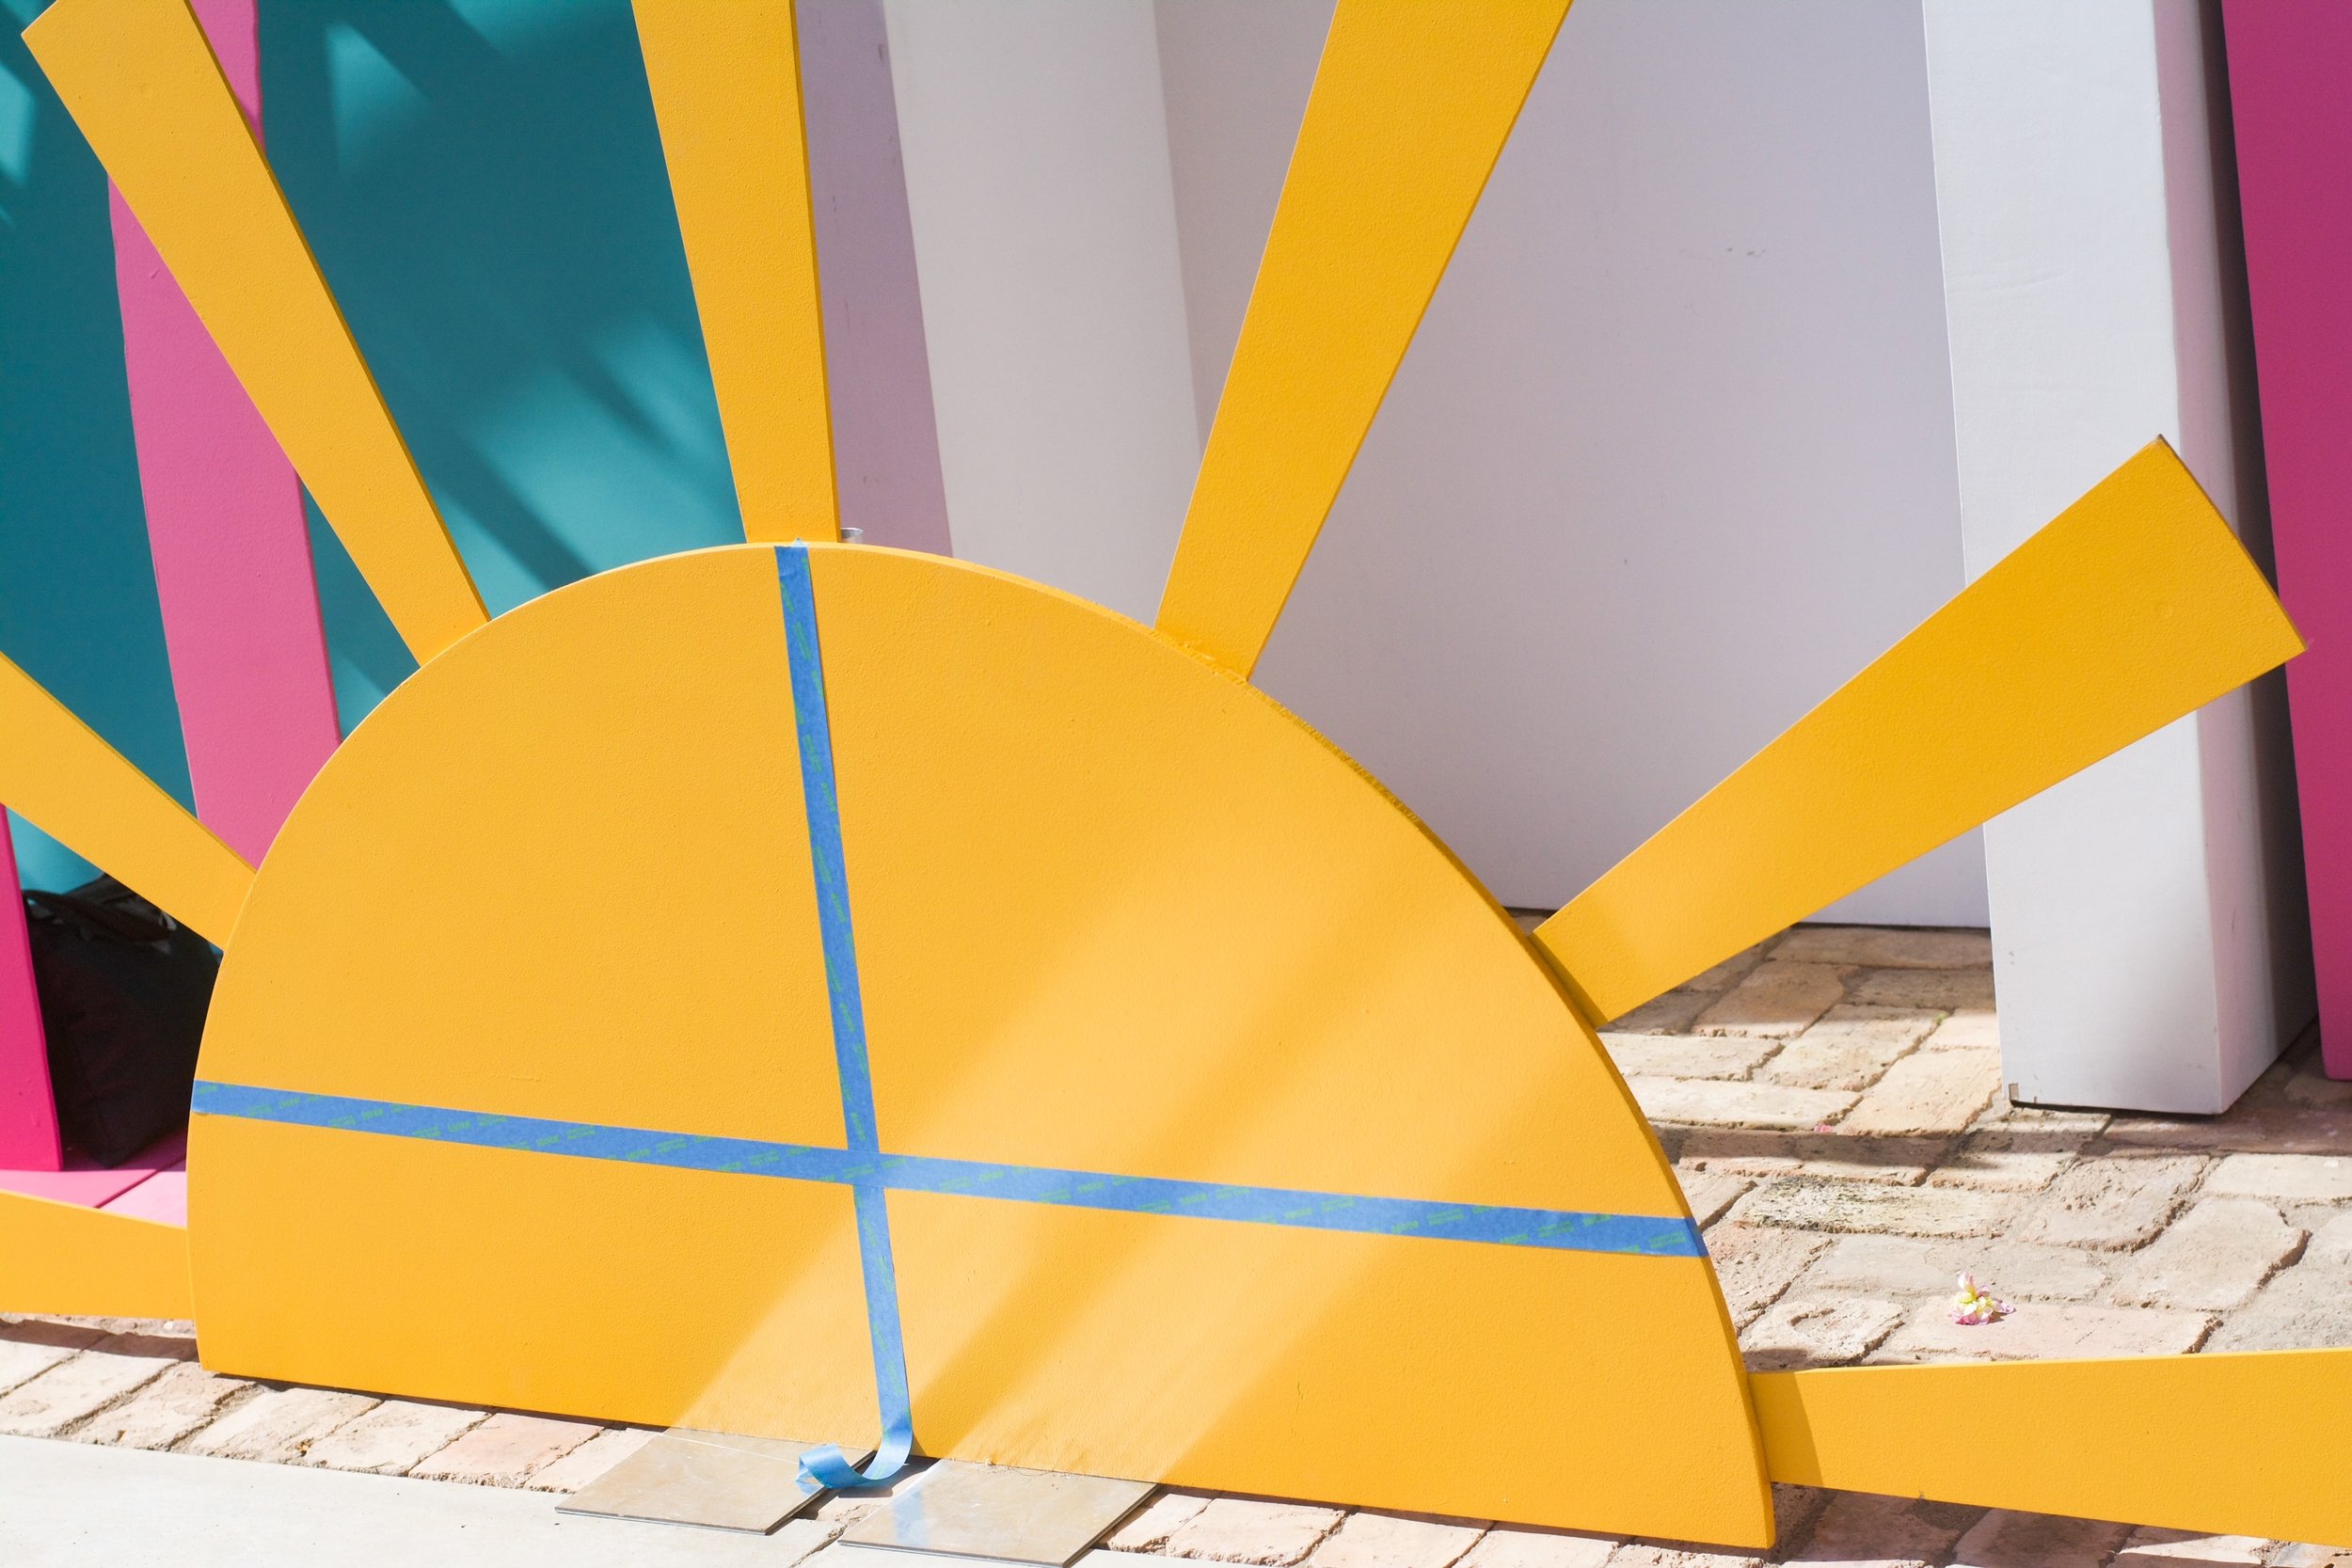
Step 1: Find the center
The first step is to find the center of the wall horizontally so that your sign rests in the center. Once you’ve found the right spot, place a small piece of painter’s tape to mark the middle.
Then, take a step back and decide how high on the wall you’d like your laser cut sign to be. Try to think about whether there will be tables or people in front of the sign to make sure it can still be shown in pictures!
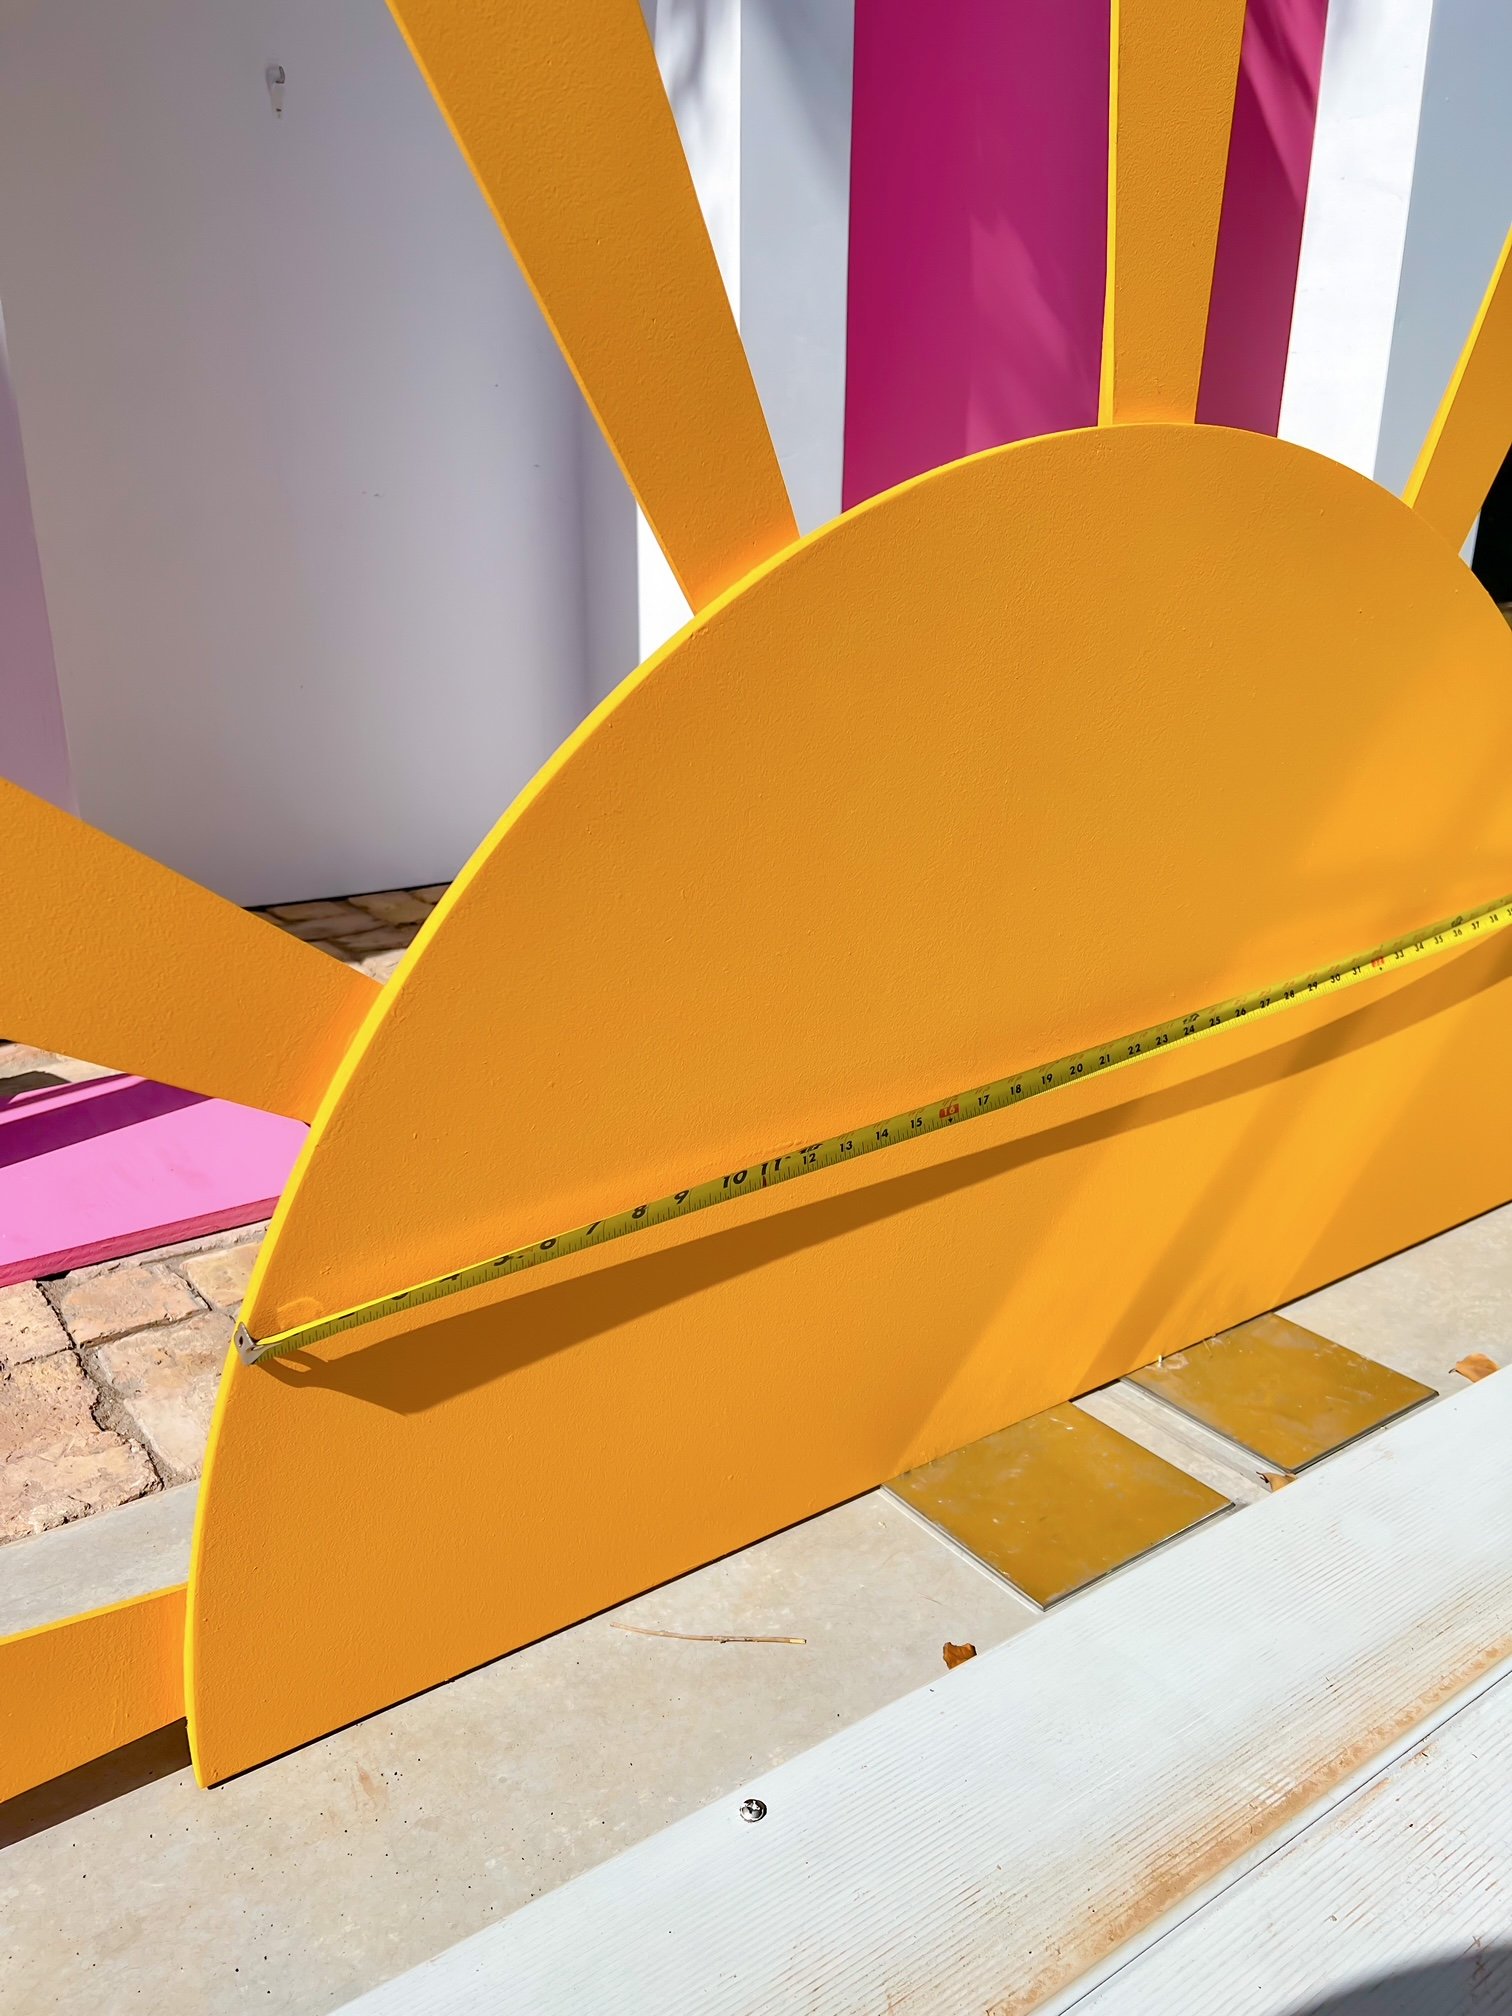
Step 2: Measure and mark
Take your rule or the tape and mark out a straight line where you decided the laser cut will look best. You’ll use this line as your guide, sort of like the lines in a notebook!
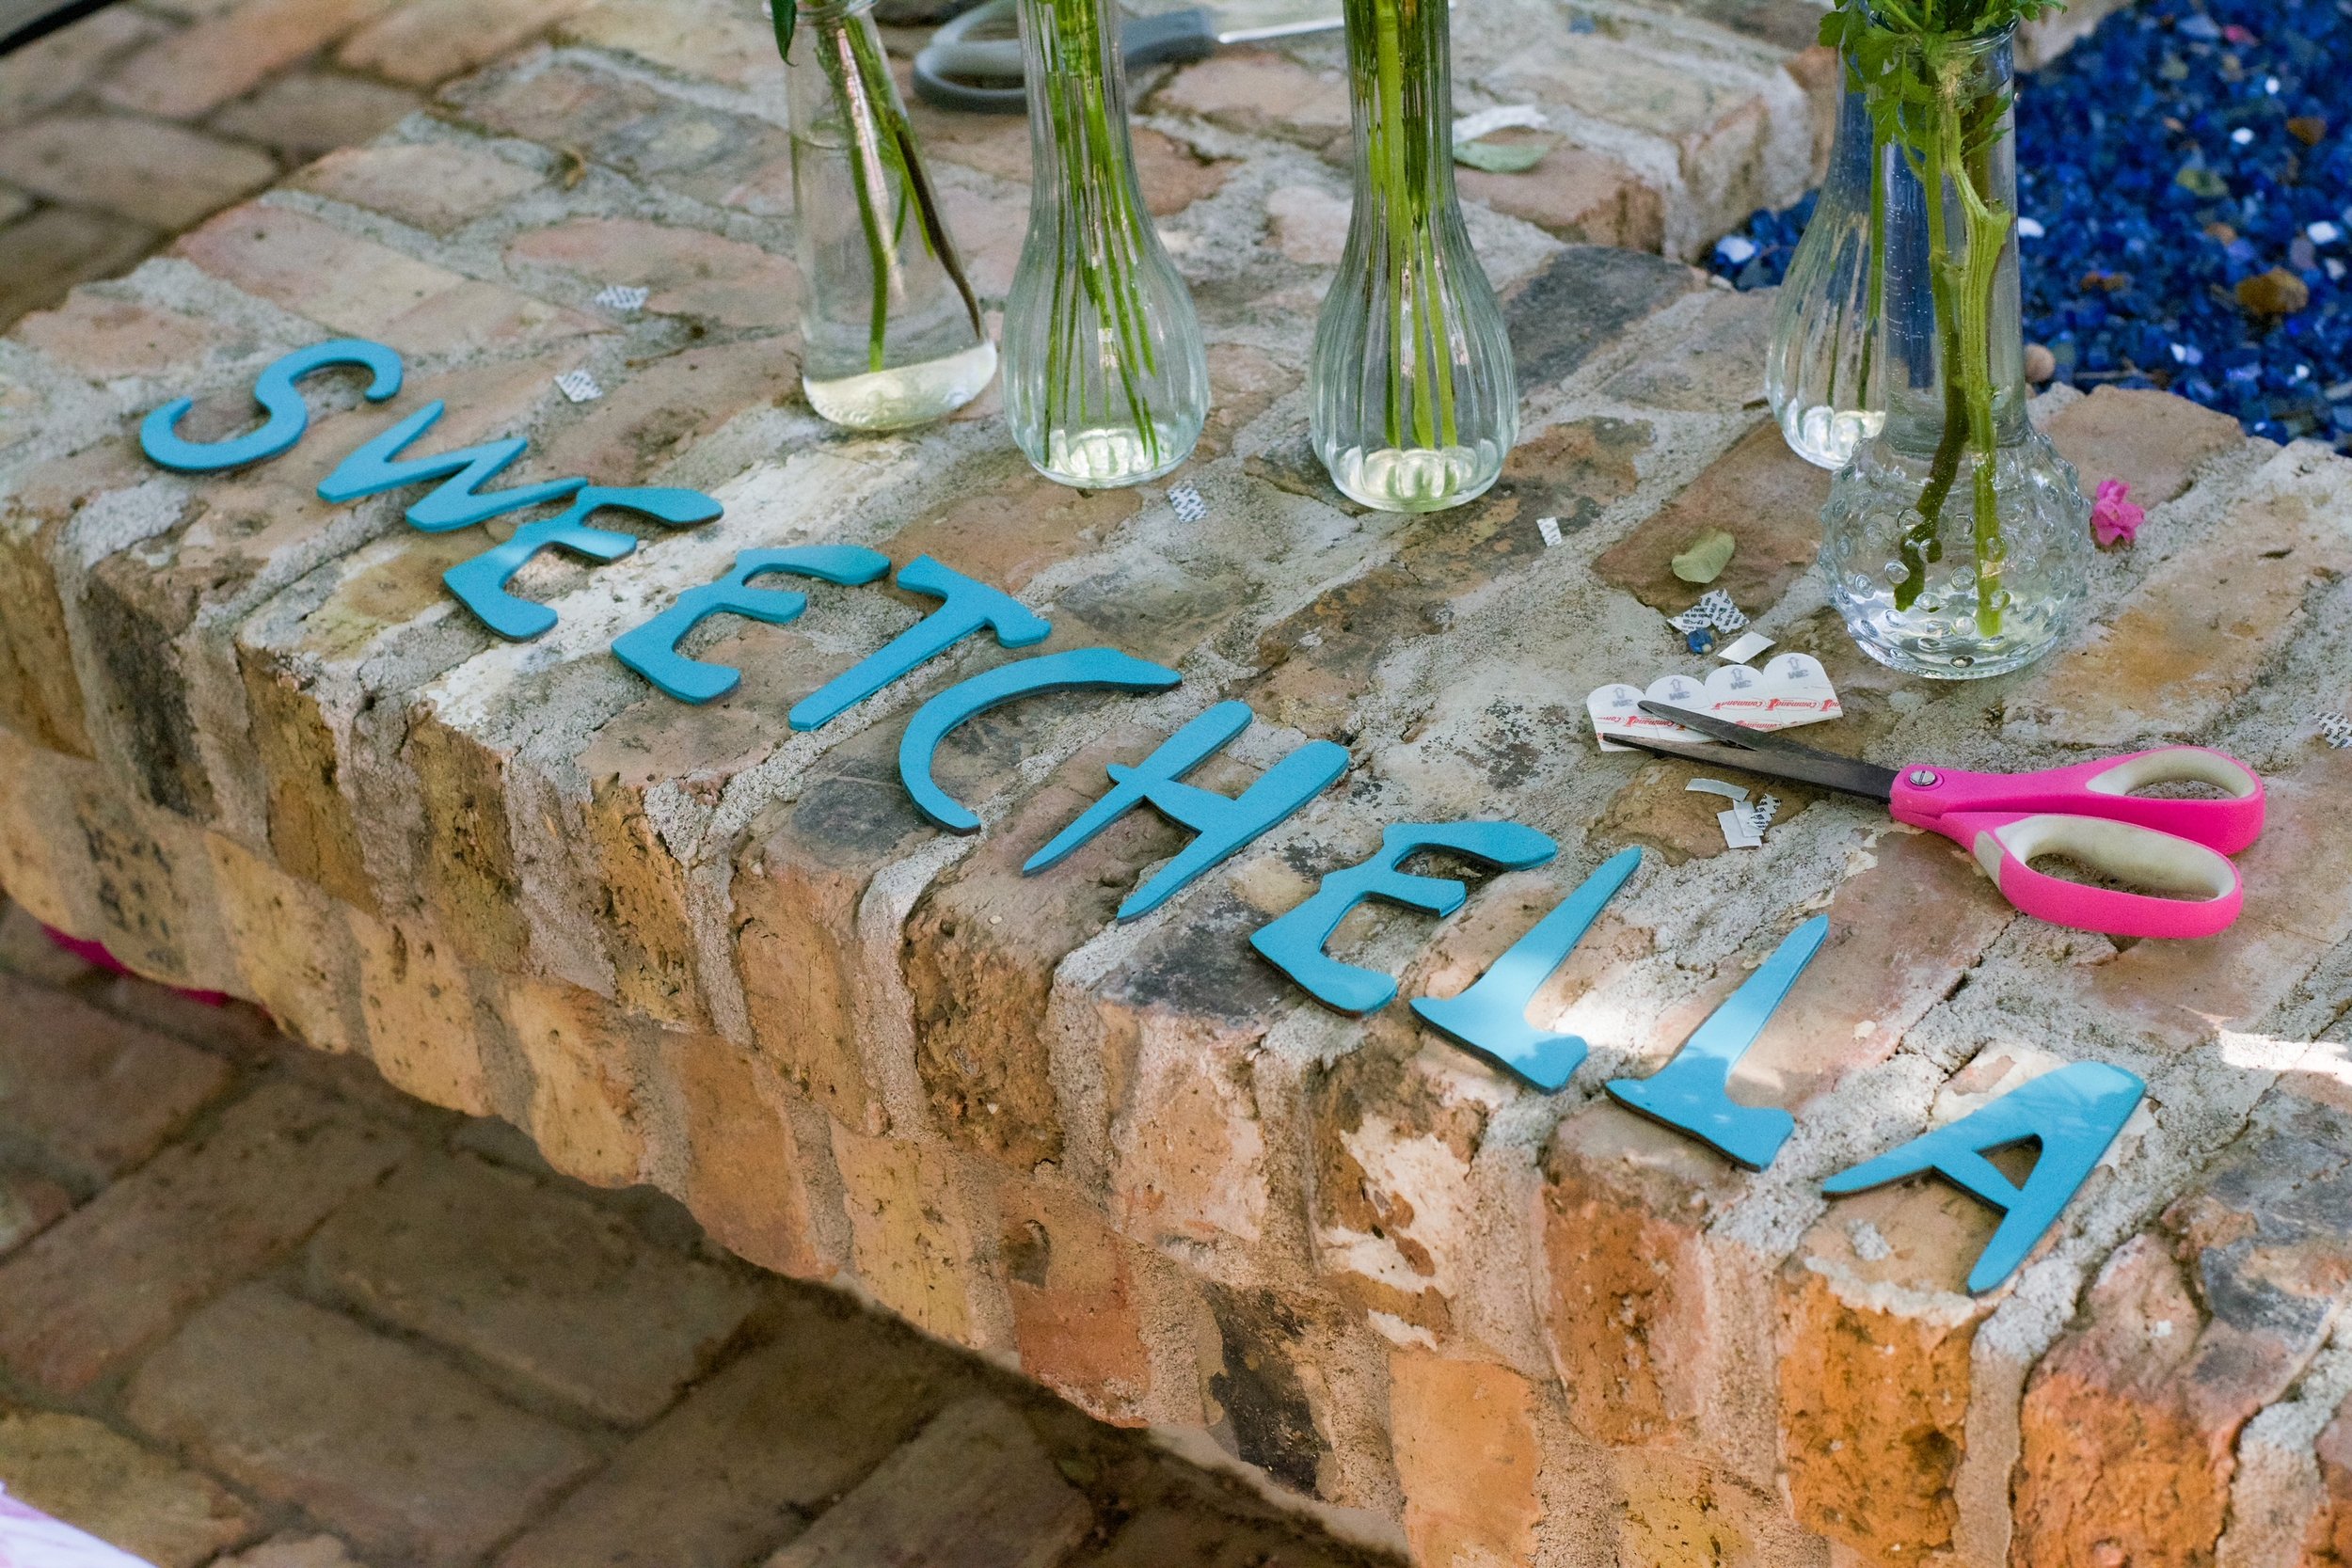
Step 3: Prep your sign
Once you know exactly where the sign is going, now’s the time to prep the sign itself. Cut your Command strips into smaller pieces to affix along the back of your laser cut. Make sure to space them out, but still have enough to keep the sign up! Remove one side of the paper backing to stick the Command strip pieces to the sign, but leave the other paper backing on until you’re just about to stick your signs to the wall.
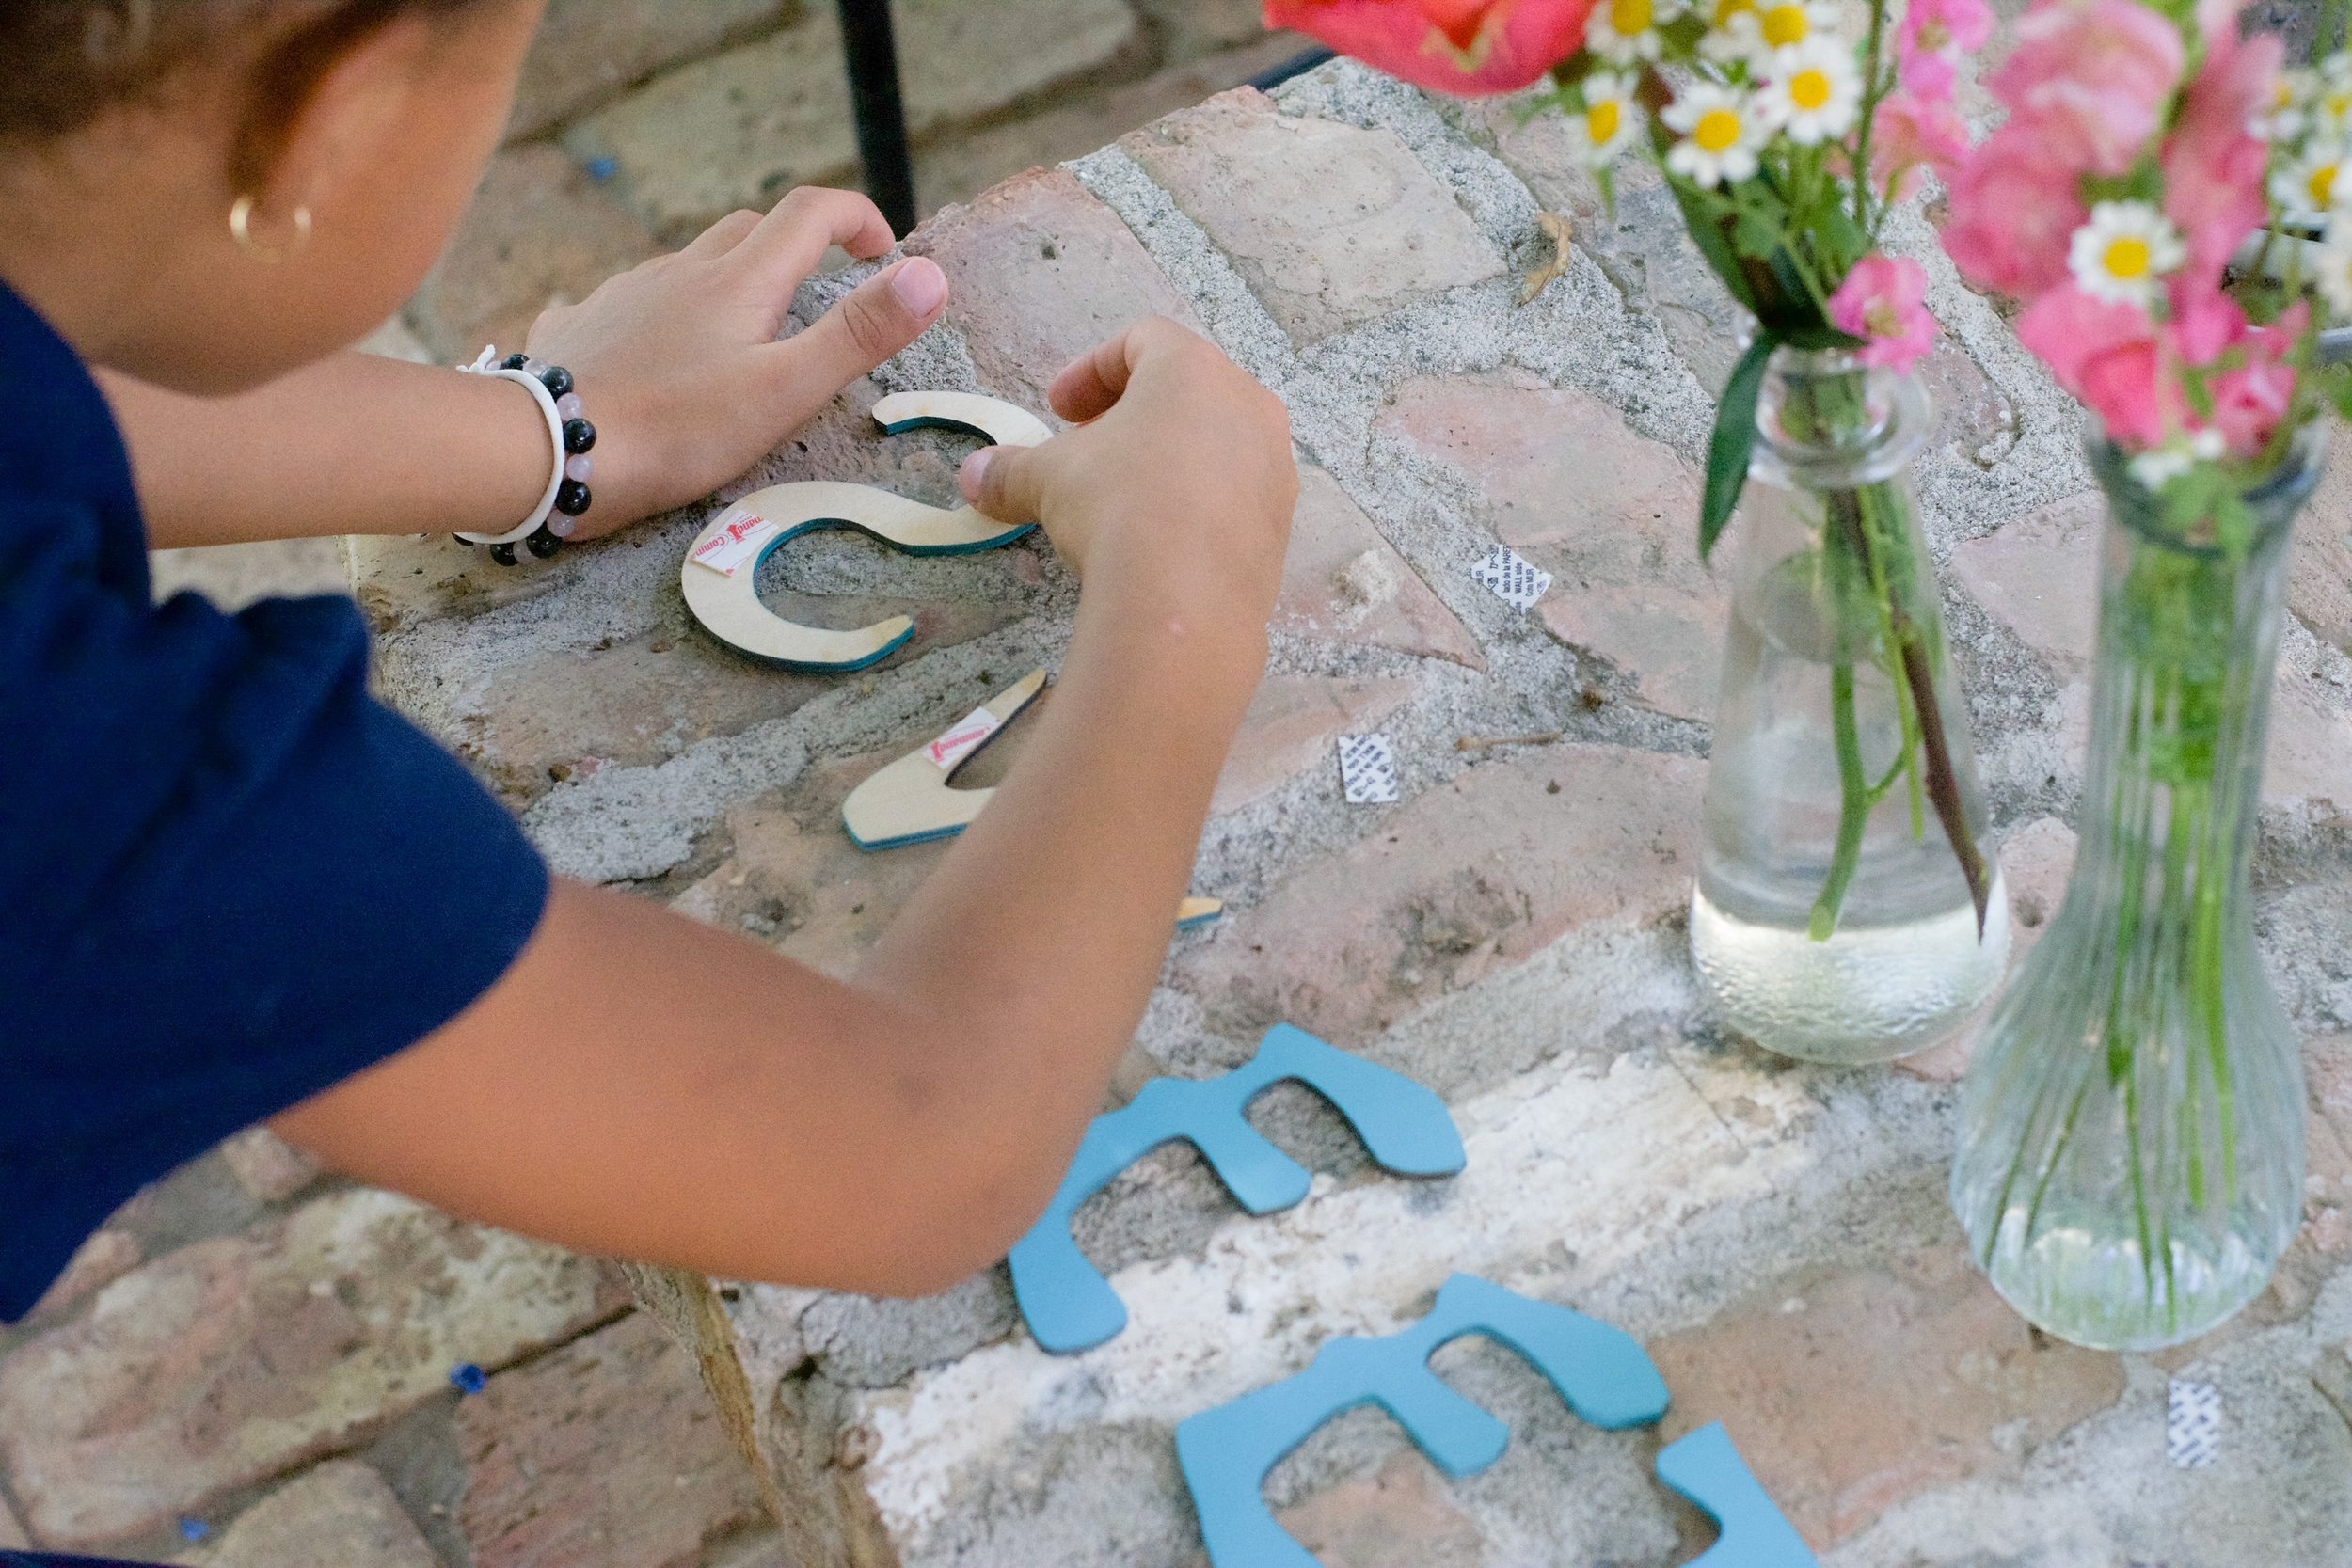
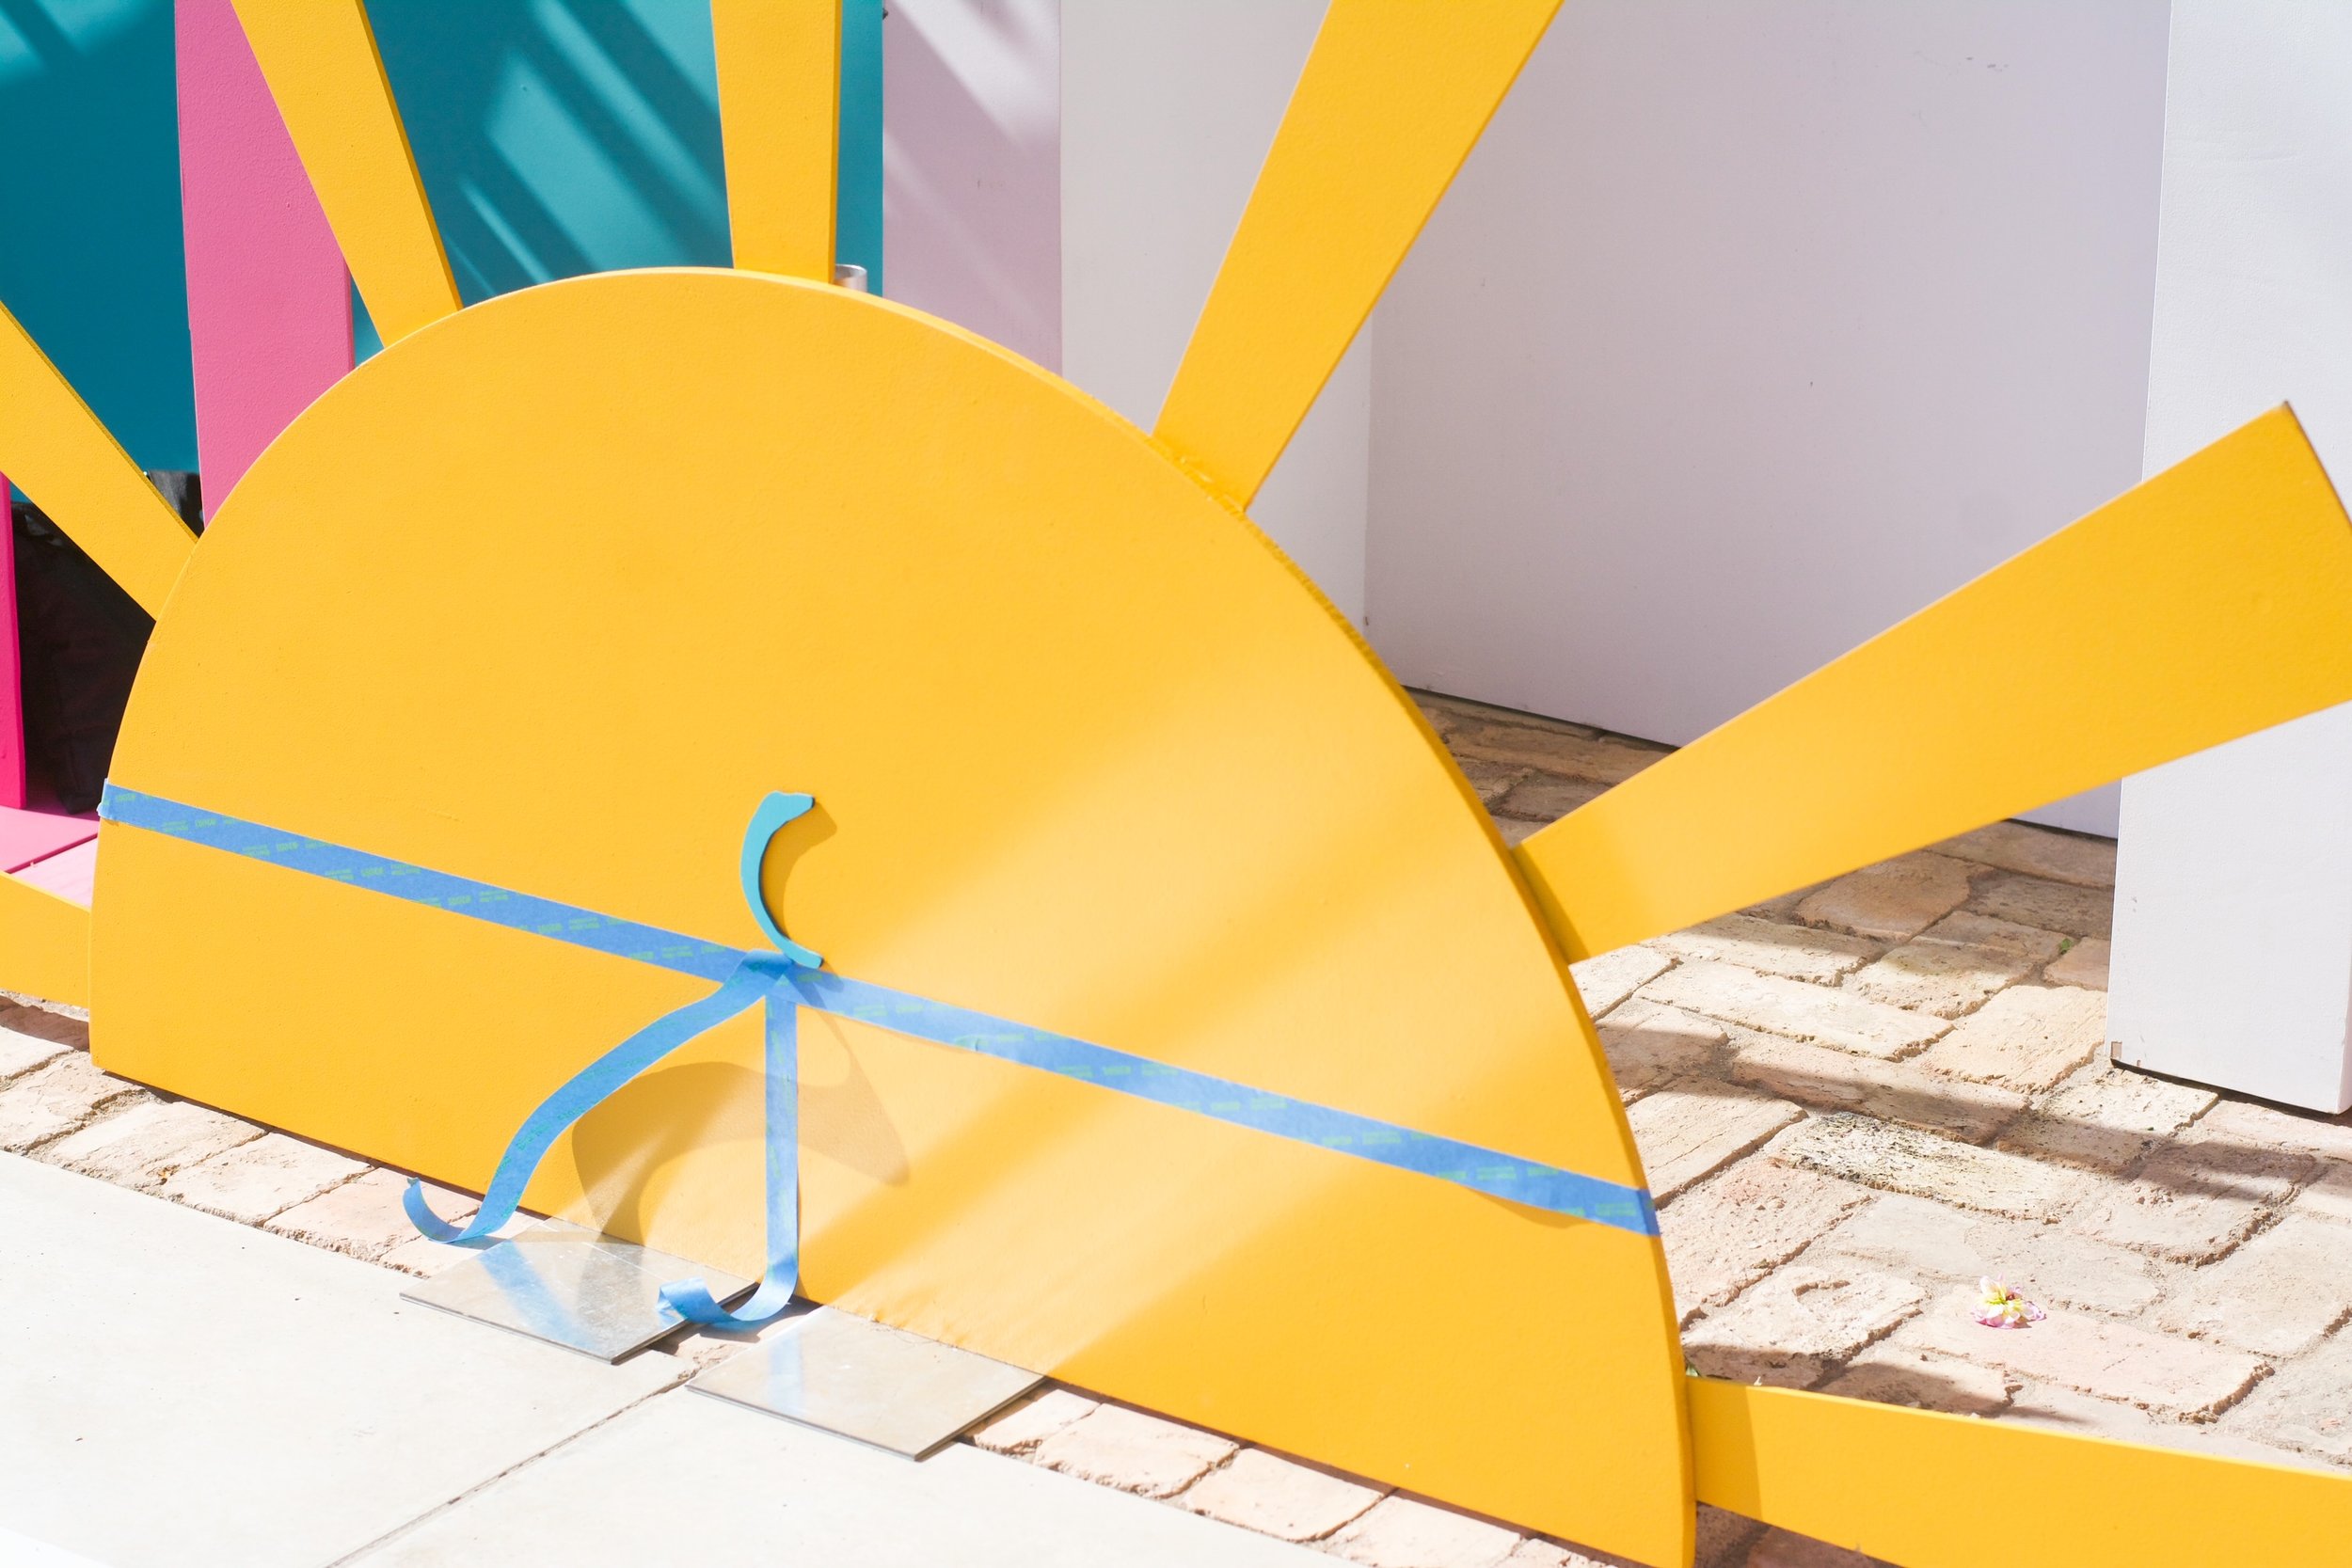
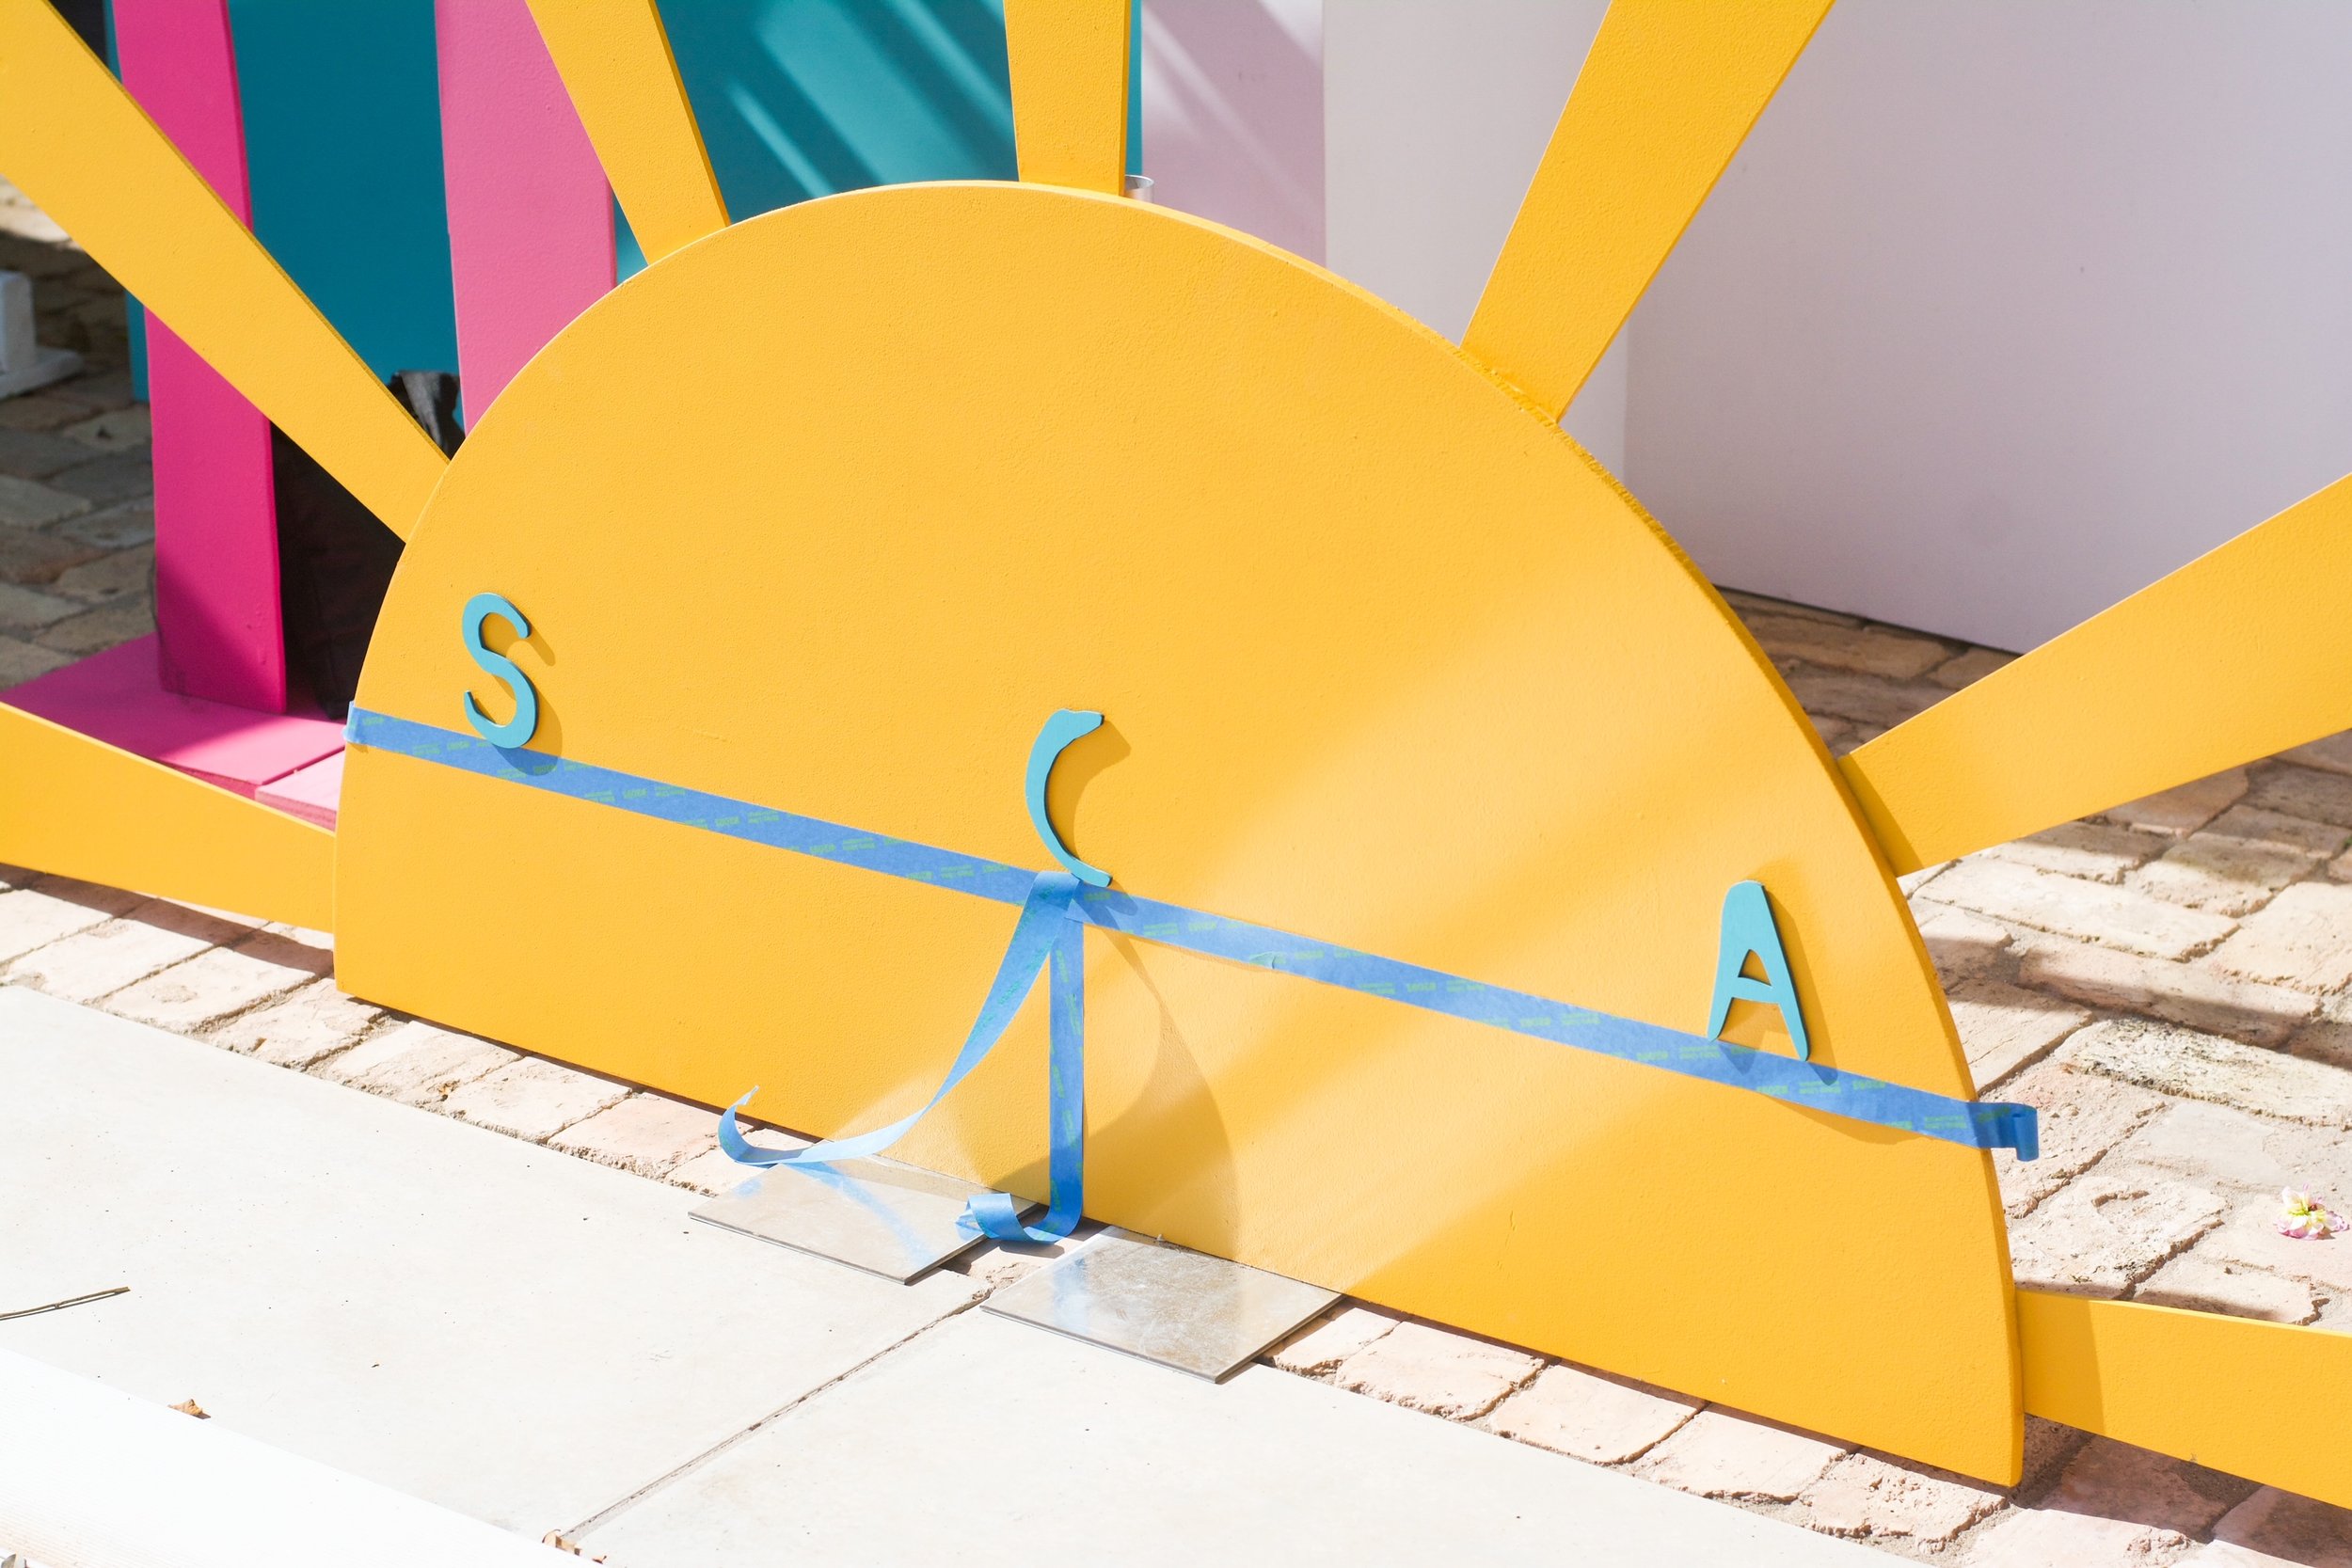
Step 4: Check for positioning
After I have all of my pieces ready to go, I like to do a final test for placement on the ground to make sure that all of the pieces of the sign look good together with the space I have on the wall. It’s a lot easier to over-plan in advance than to remove the signs from the wall multiple times!
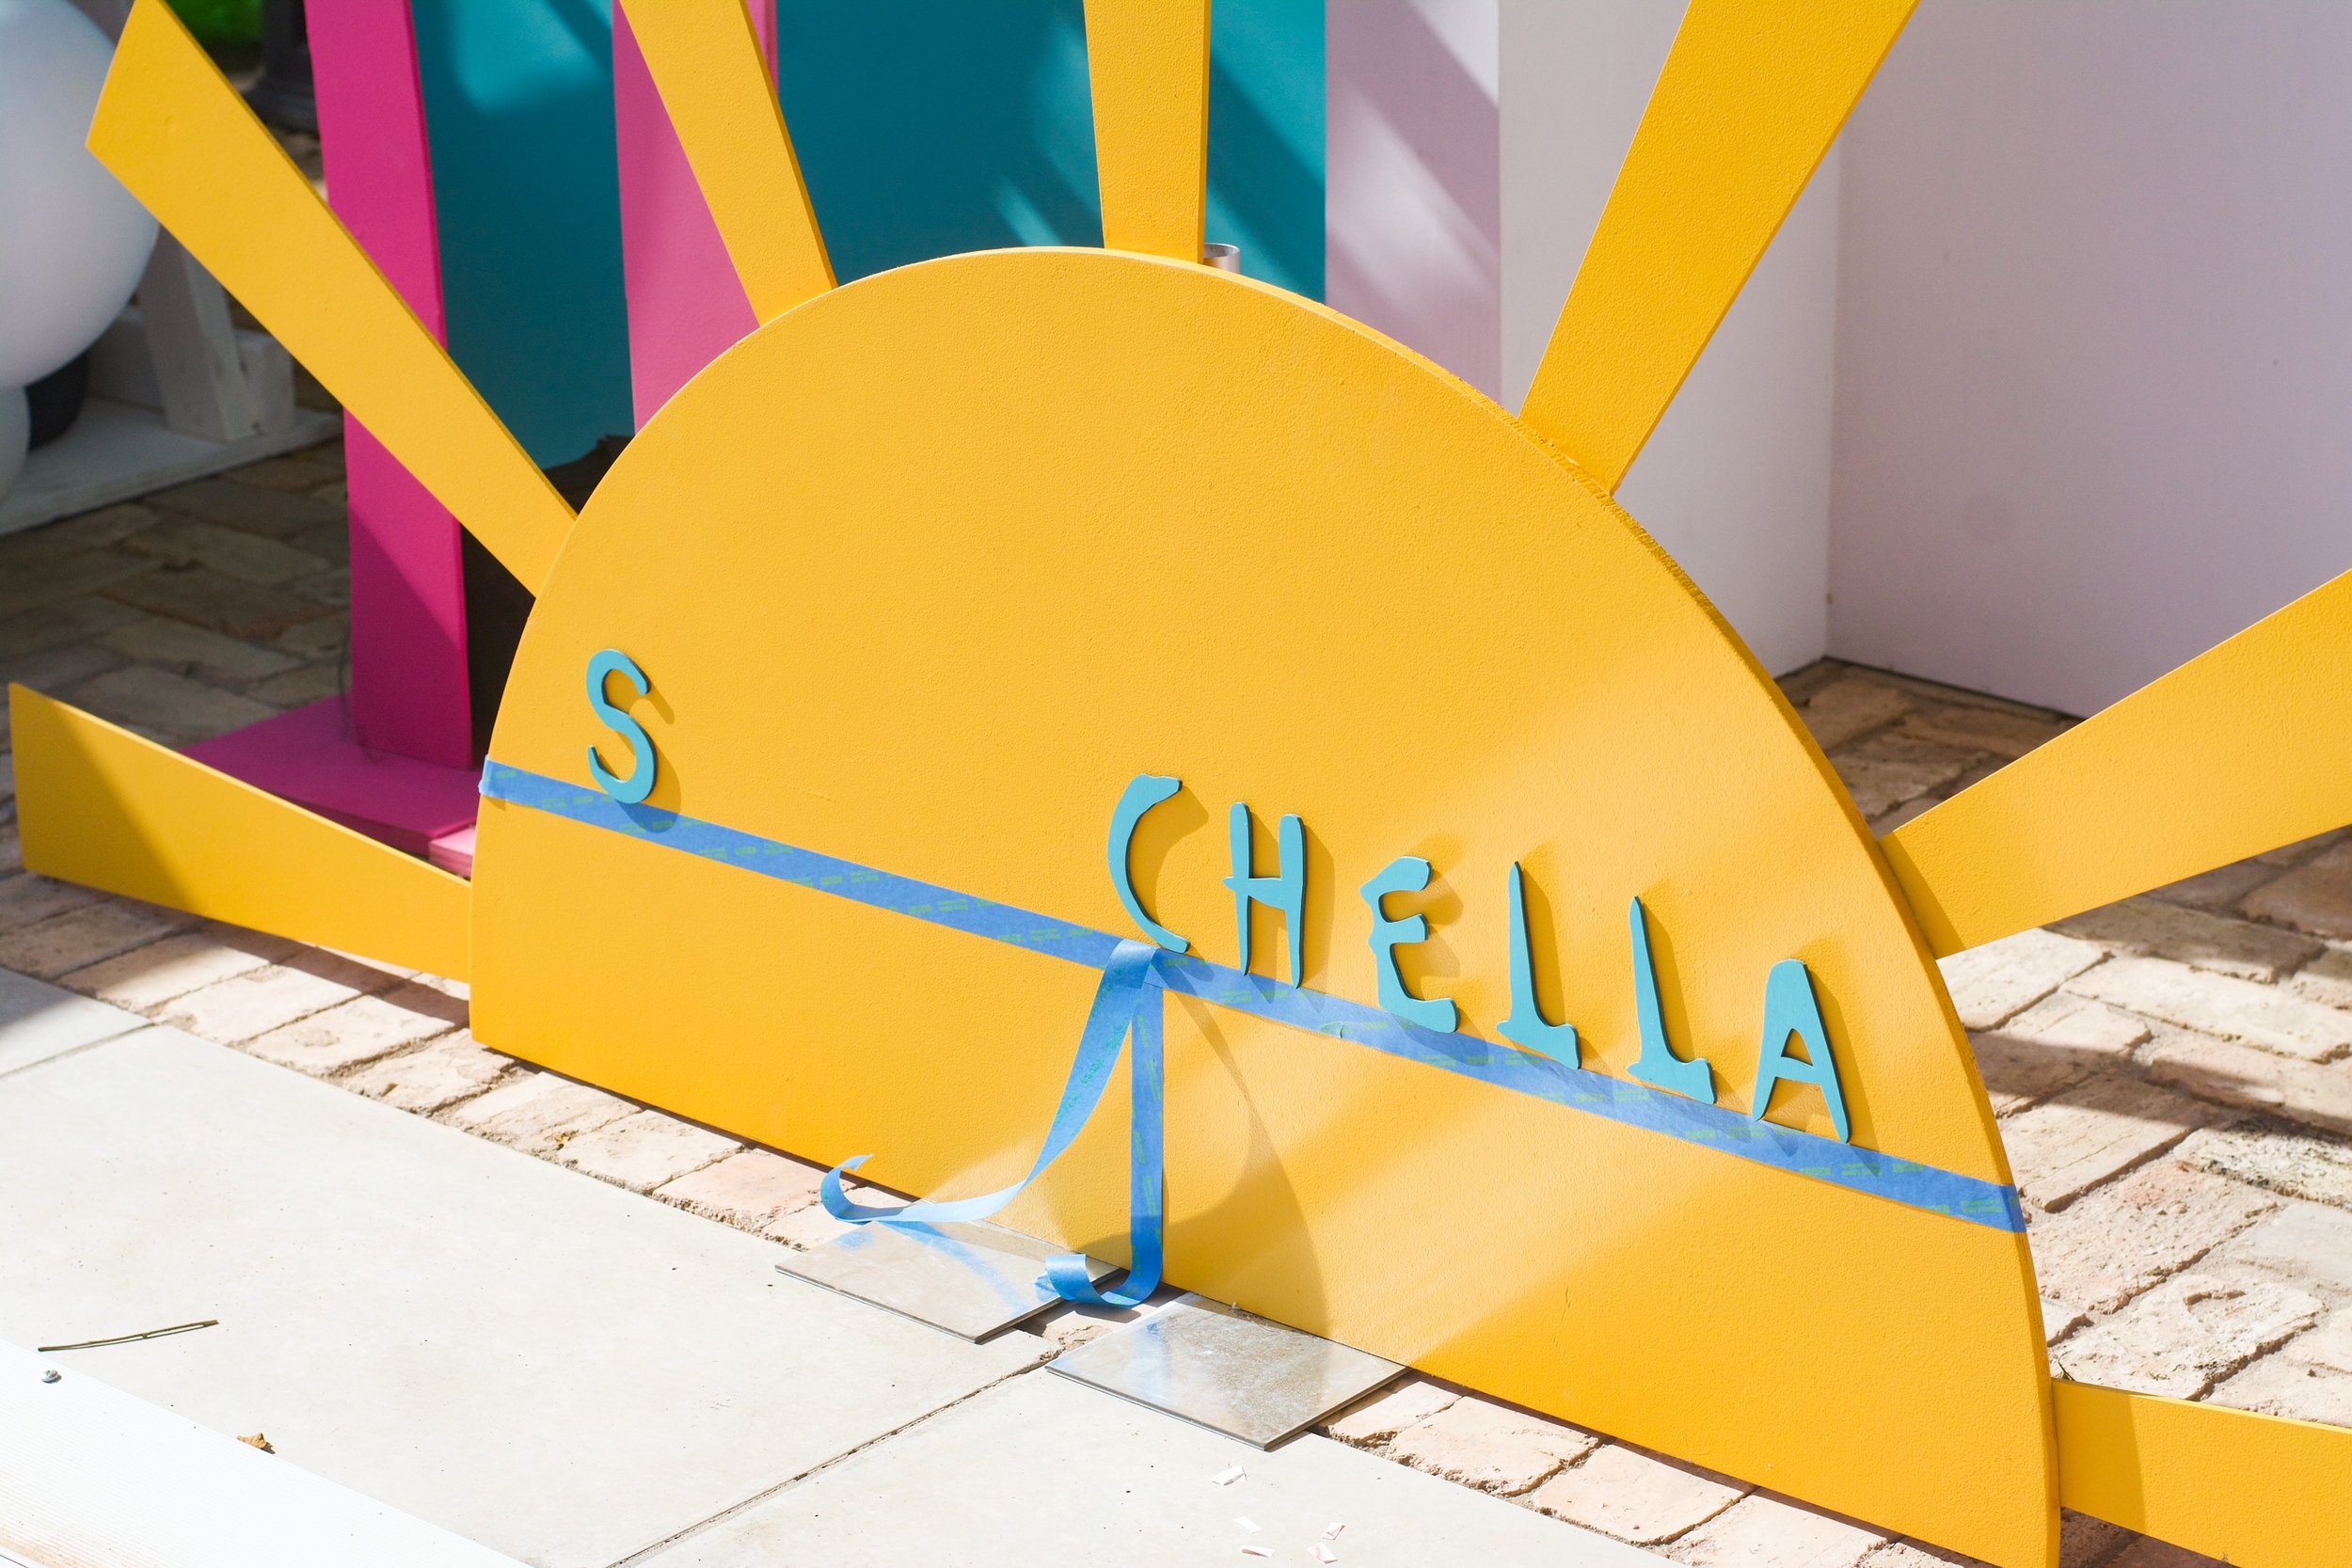
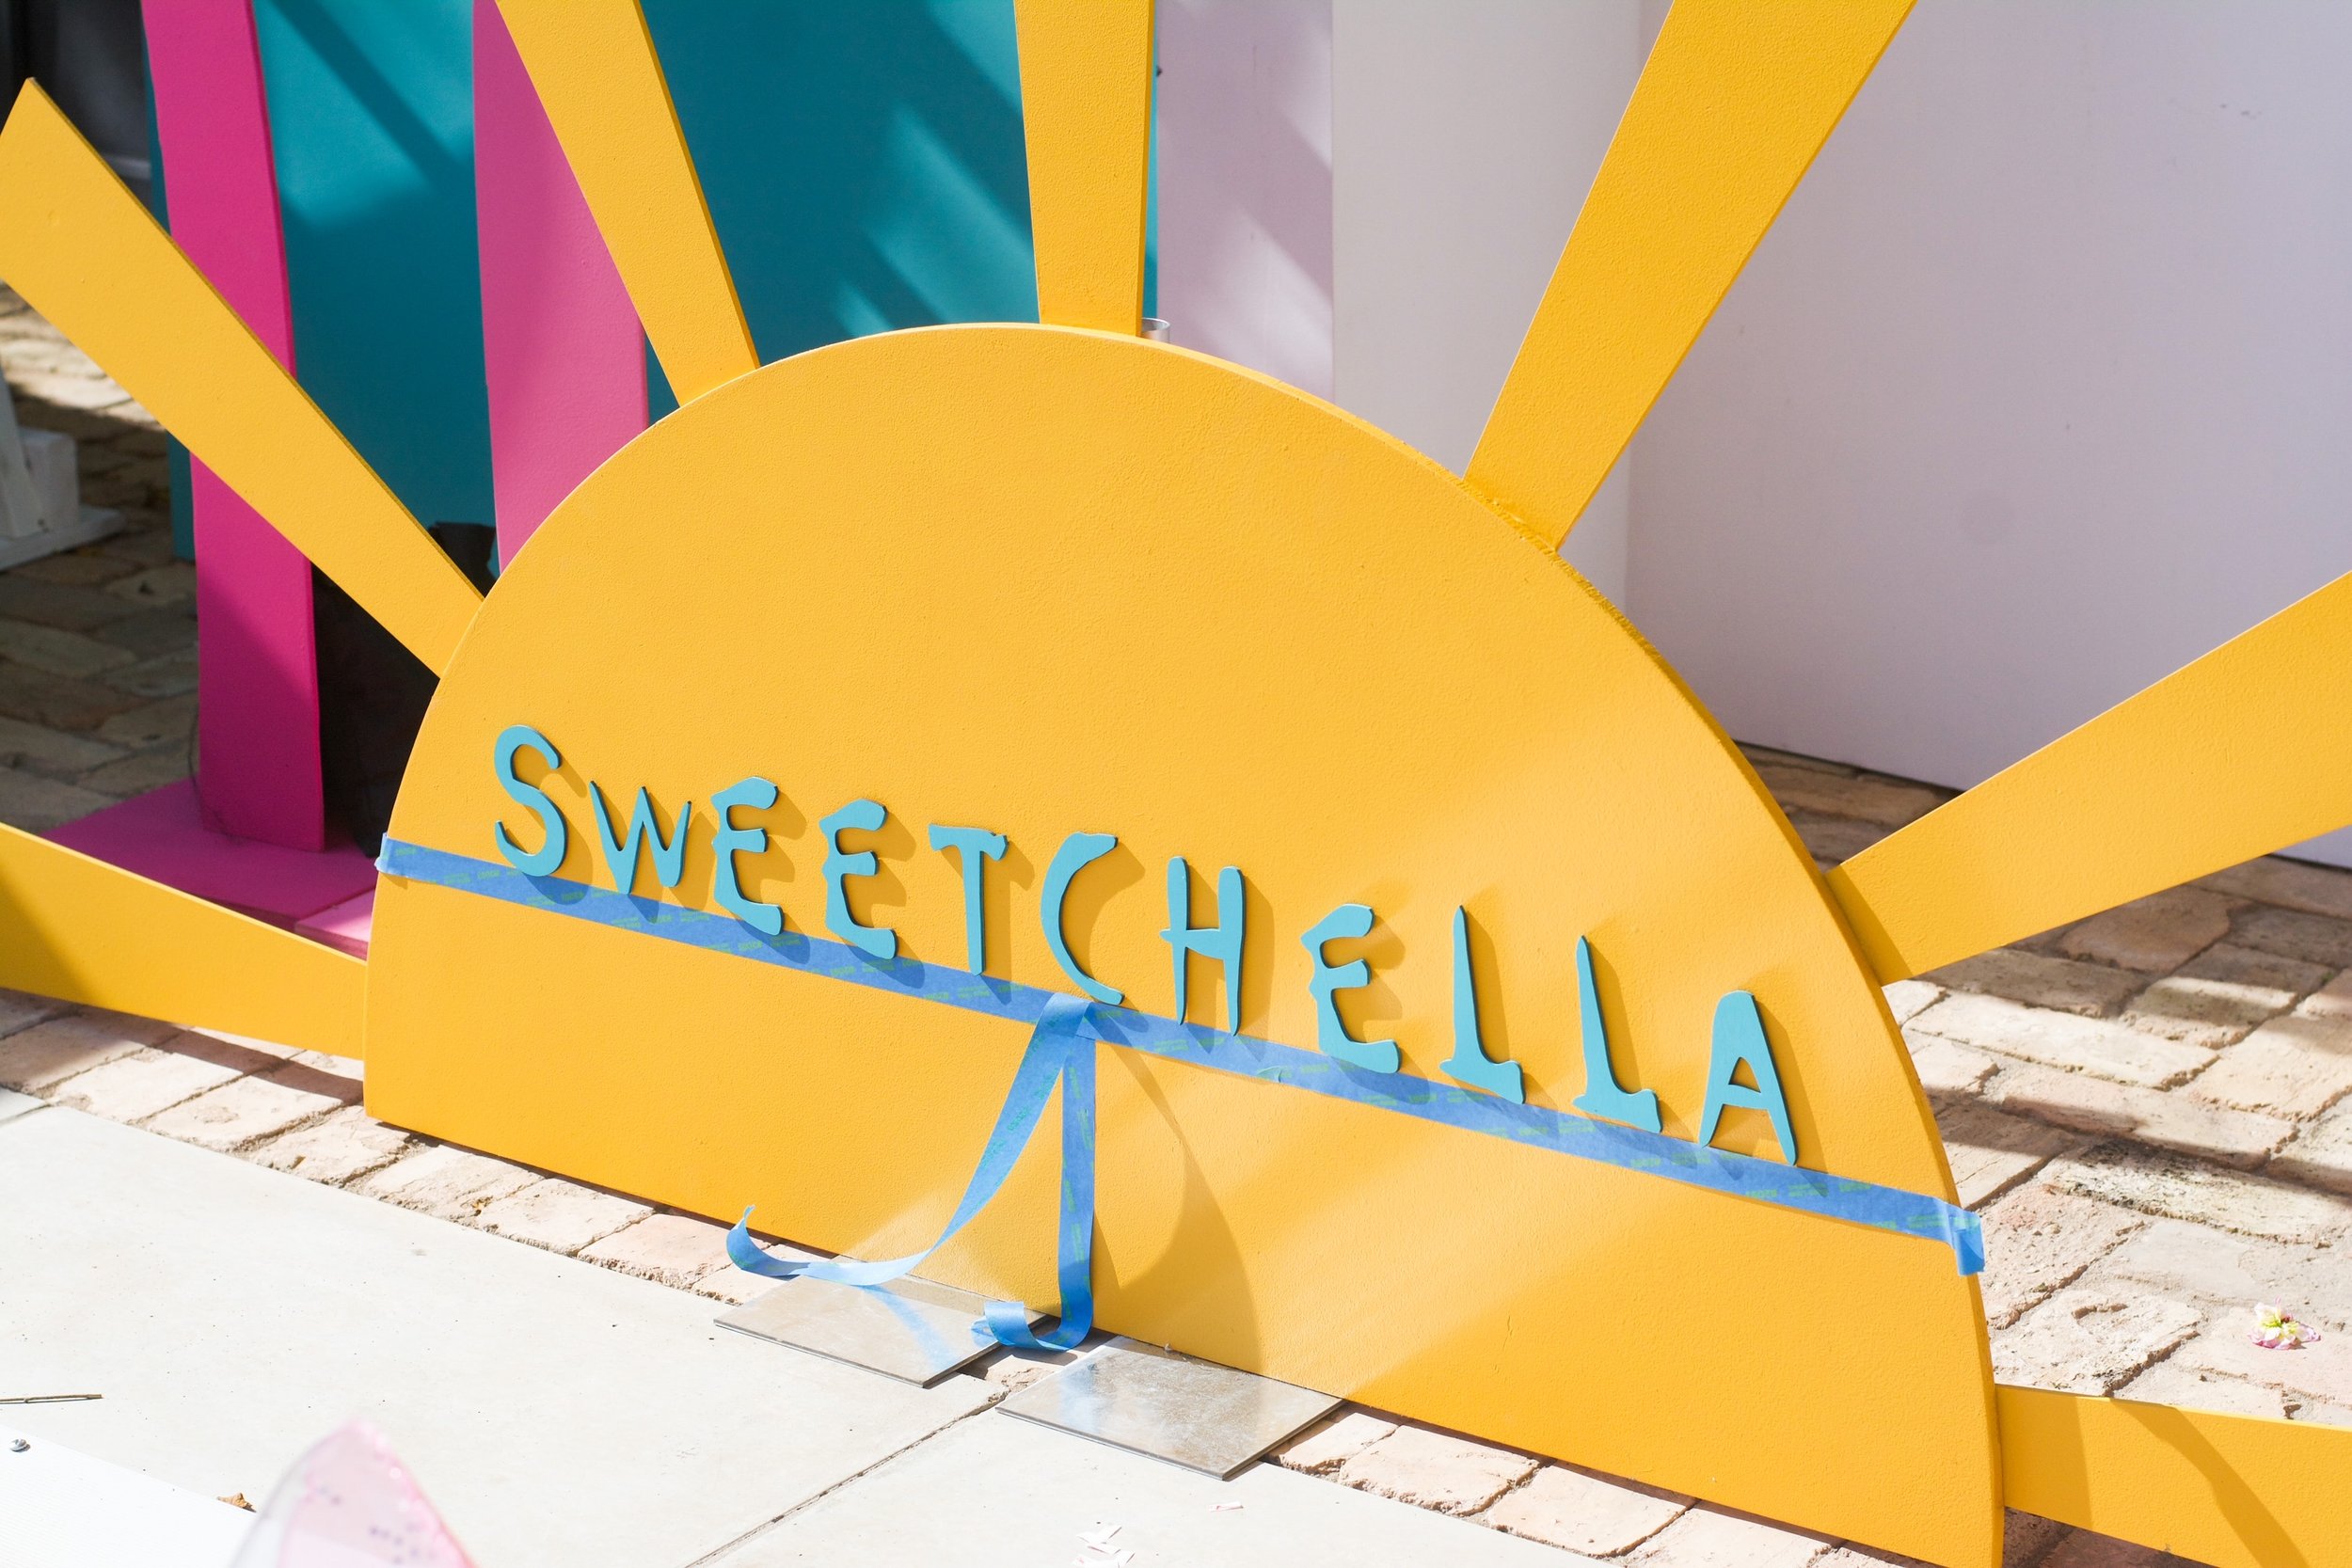
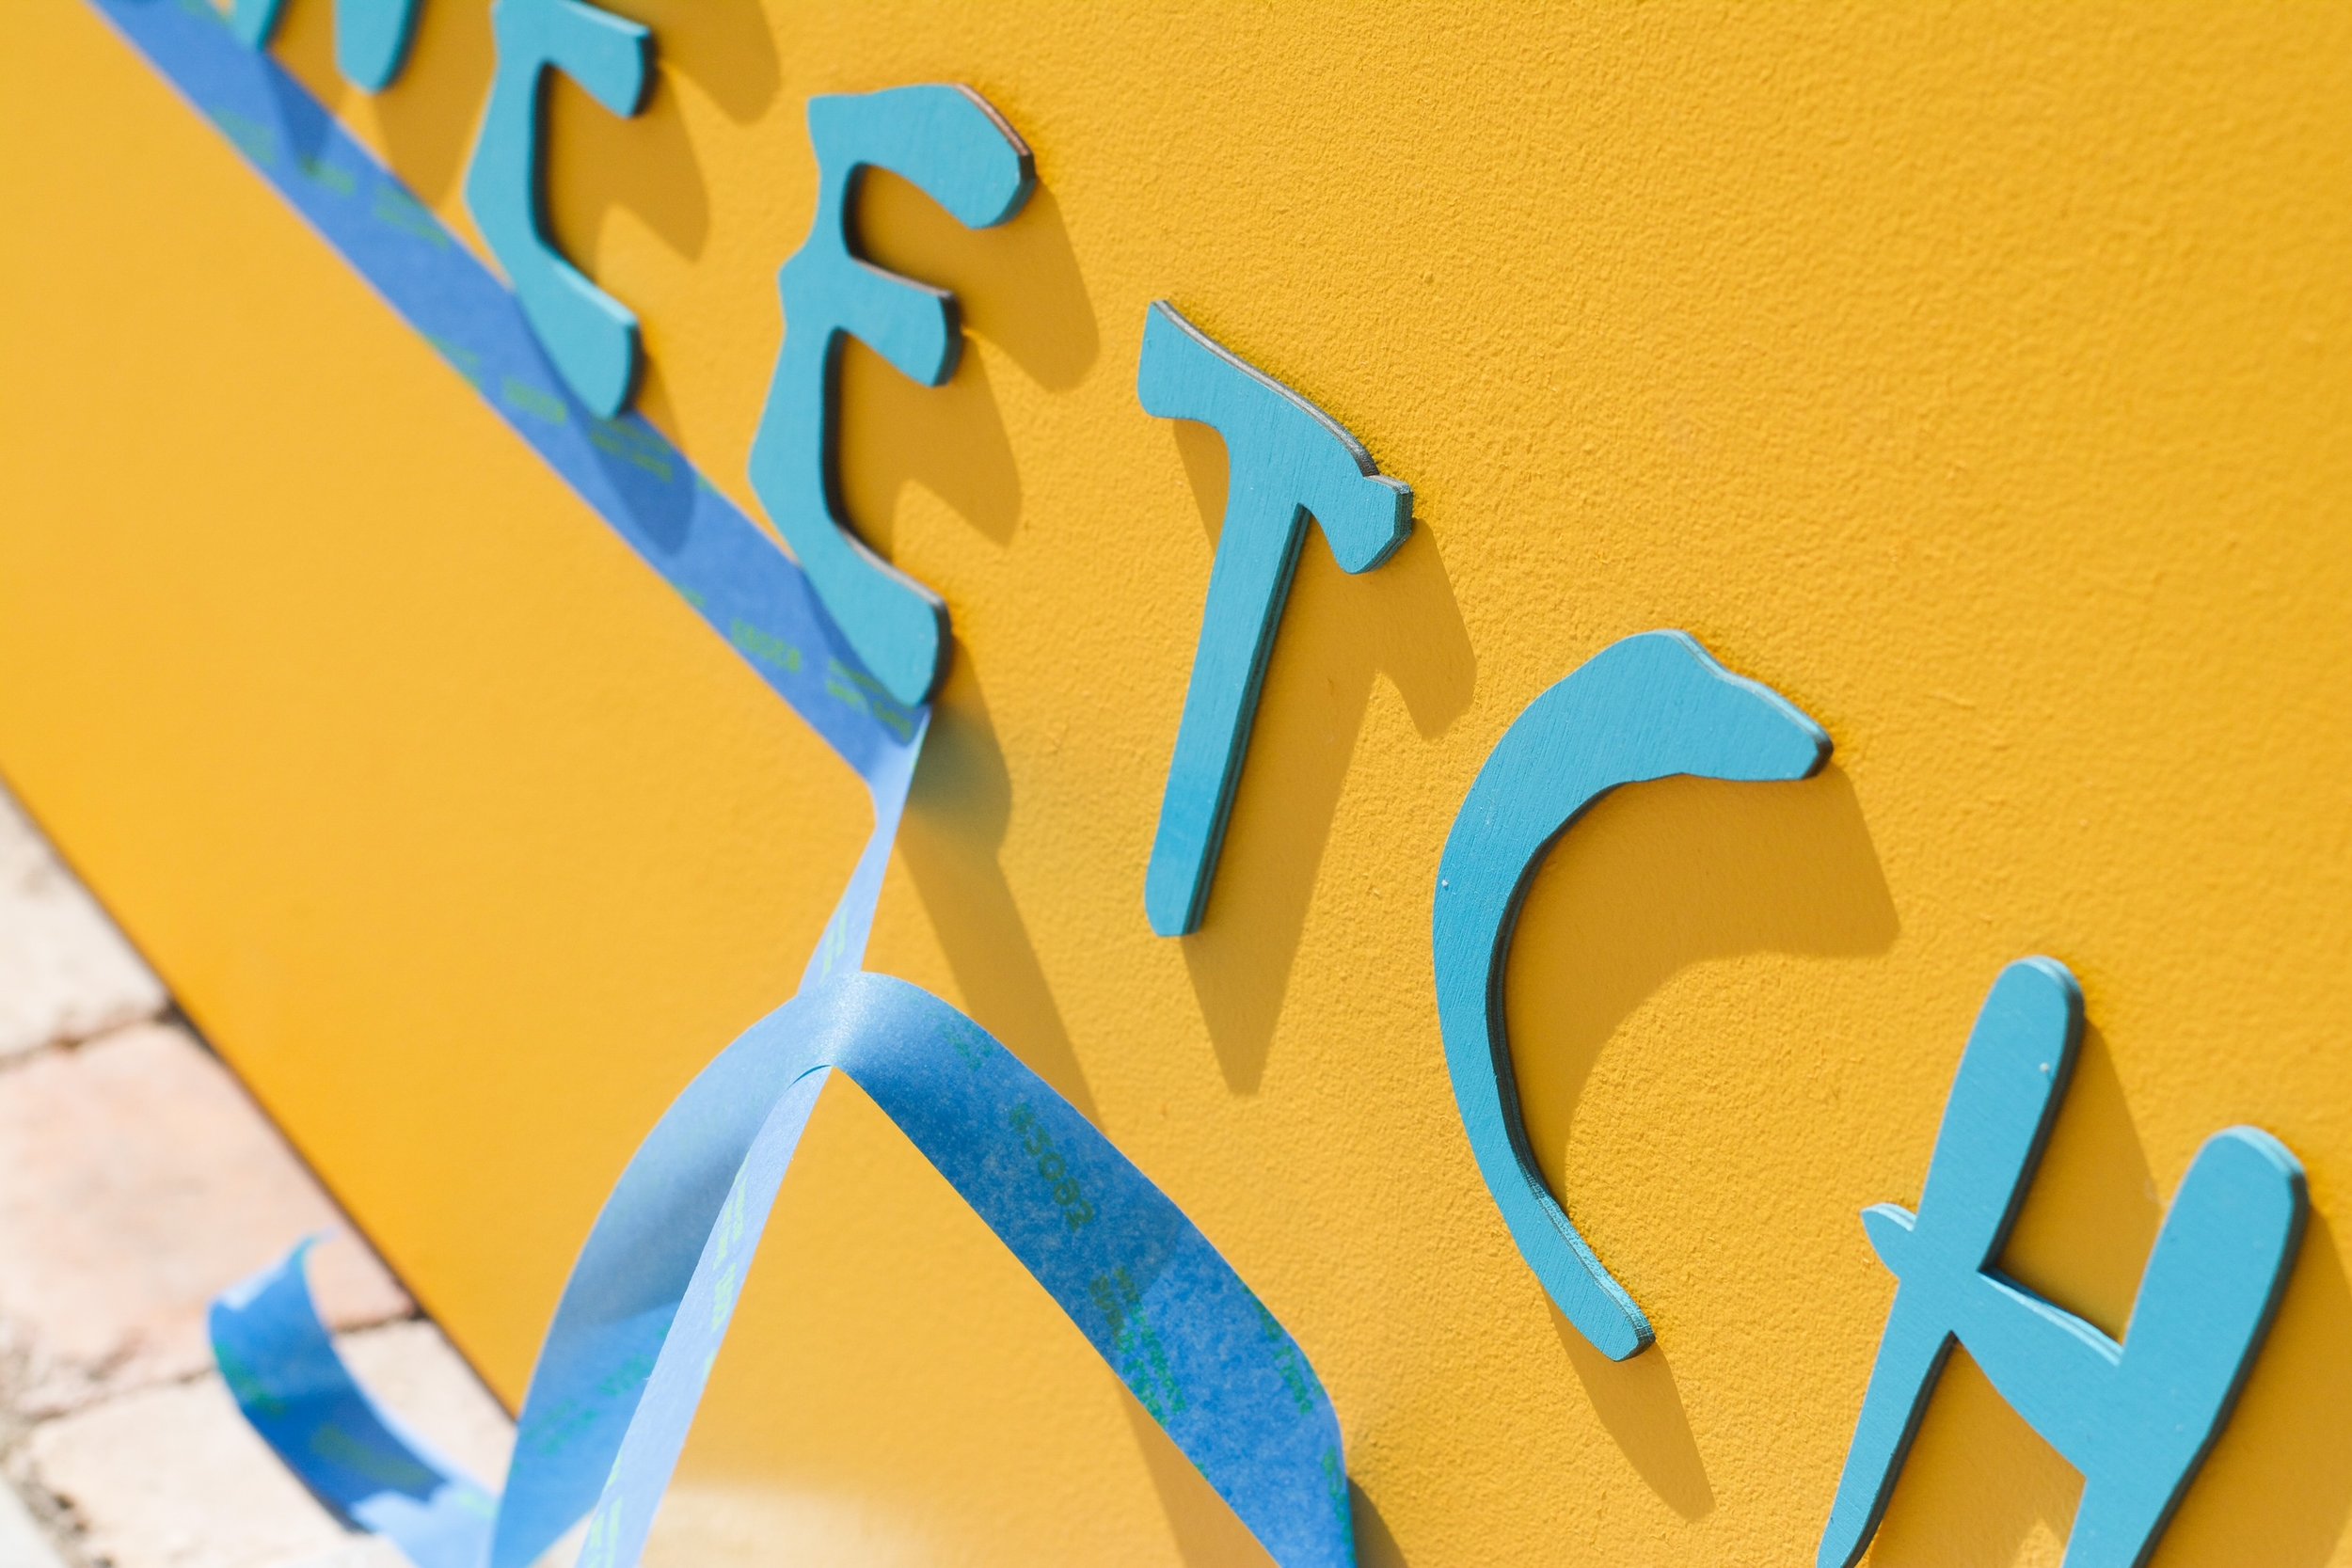
Step 5: Stick from the inside, out
Now it’s time to stick! Starting with the middle-most piece, remove the remaining paper backings from the Command strips and stick your laser cut pieces on the wall. Make sure each piece is properly stuck to the wall before moving to the next one. Keep working from the inside out until all of the pieces are firmly in place. Remove the tape, and your sign is ready to go!
Looking for laser cut signs for your wedding? You’re in the right place!
Laser cut signs are one of our specialties at Deco Ink Designs, and they just so happen to be some of our favorite signs to design and create! Reach out today to start the design process!